How to Choose the Best Sink Type for Your Kitchen
by Jennifer Ott
Drop-in, undermount, integral or apron-front — a design pro lays out your sink options
Once you’ve decided on the material for your next kitchen sink, you’ll want to decide what kind of installation to do. There are four basic types of sink mounting, and each has pros and cons. You’ll want to consider each option with the way you cook and clean in mind. Here’s what to know about mounting types for kitchen sinks.
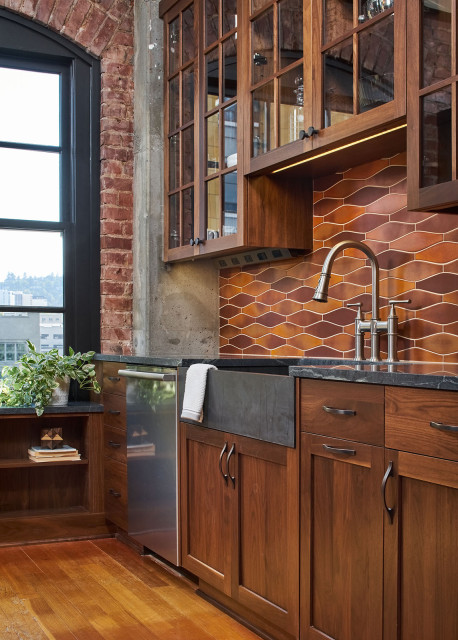
1. Apron-Front or Farmhouse-Style
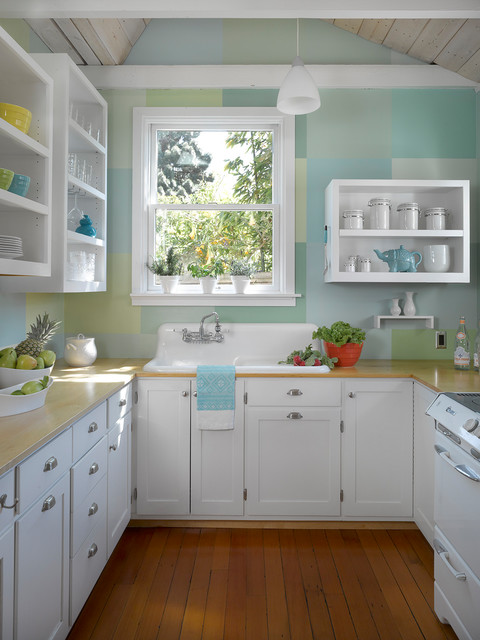
Apron-front
sinks, also known as farmhouse sinks, have a broad, exposed front edge and are
usually quite wide and deep.
These charming sinks have come a long way from their humble beginnings in the 18th century as a butler’s sink. The size and shape were introduced to accommodate larger objects, and the sinks were quickly put to use to wash everything from household items to clothes and even children. They’ve evolved through the years to become one of the most popular styles of kitchen sinks.
While these sinks were traditionally single-bowl, they now come in divided two-bowl configurations. They are also available in a wide variety of materials, such as fireclay, cast iron, stainless steel, natural stone, manufactured solid surfaces and copper.
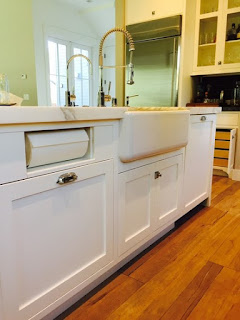
These are
certainly attractive sinks, but there are a few issues to keep in mind if you are considering installing one in your kitchen. Apron-front sinks are typically
wider, deeper and heavier than other sink types, so they may require at least a
36-inch-wide sink cabinet. The sink cabinet also must be able to accommodate
the apron front.
If you go for a
stainless steel or copper version, be aware that the apron can get scratched
from contact with belt buckles or metal buttons. And, unless you choose an
undermount installation (with the countertop extending over the sink edge),
there will be a seam between the sink and countertop in which moisture and gunk
can collect.
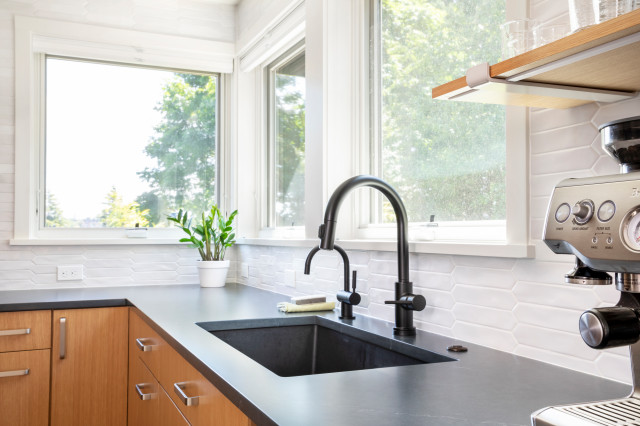
2. Undermount
Undermount sinks get attached to the underside of the countertop for a smooth look and an easy-to-clean design. Undermount and apron-front sinks often require professional installation and can only be mounted to a sturdy and nonporous countertop material, which can add considerable cost to the project. Installation is more expensive than for a drop-in sink, because the countertop opening has to be cut precisely.
It’s also worth noting that while I have heard of successful applications with wood countertops, extra care must be taken to protect the wood from water. Some laminate countertop manufacturers also claim that you can undermount a sink to their material. Discuss it with a design or build pro or a countertop retailer to see if this is an option for you.
Depending on
your particular undermount sink, you may have some options regarding the reveal
— how much or little of the top edge of the sink is visible just below the
inside edge of the countertop.
A positive
reveal leaves a small portion of the sink edge exposed. This is the easiest
type of installation, as the cutout doesn’t have to be as precise as it does for
a zero reveal. It also allows you to keep an eye on the status of the sealant
between the sink and countertop, and more easily reapply it in the future as
needed. The downside of a positive reveal is that the exposed edge tends to
collect gunk and grime.
With a negative reveal, the countertop extends slightly beyond the edge of the sink, offering the cleanest look. But that overhanging countertop can catch objects as you lift them out of the sink, causing chips or breakage to both the countertop and objects. It’s also more difficult to keep tabs on the seal between the sink and countertop.
A good hybrid, then, is the zero or flush reveal. Here the countertop is cut to the exact dimension of the sink, so there is no place for water and food to collect and also no lip that can cause damage or get damaged. This can be a more expensive installation, however, because the countertop opening has to be cut precisely.
Talk with your design or construction professional about what type of reveal you want for your undermount sink.
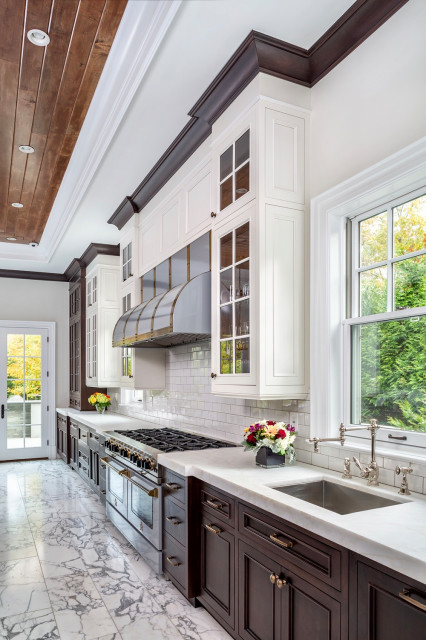
3. Drop-In
Drop-in sinks are installed on top of or over the countertop. These tend to be the most budget-friendly sinks, primarily because they are the easiest to install.
This is a
popular sink style for those on a tight budget, for those installing a sink
within a porous countertop body material (such as wood or laminate) or for
those looking to repurpose a vintage sink or get a vintage look.
As mentioned,
drop-in sinks are installed by “dropping” the sink into a cutout in the
countertop material and then sealing around the edges where the sink lip meets
the countertop. The obvious downside to a drop-in sink is that the raised lip
makes it more difficult to wipe food particles directly into the sink, as you
can with an undermount sink.
Whereas undermount sinks have a clean, minimalist feel, drop-in sinks — especially vintage or vintage-look sinks — can bring a charming appeal to the kitchen, creating a fantastic focal point.
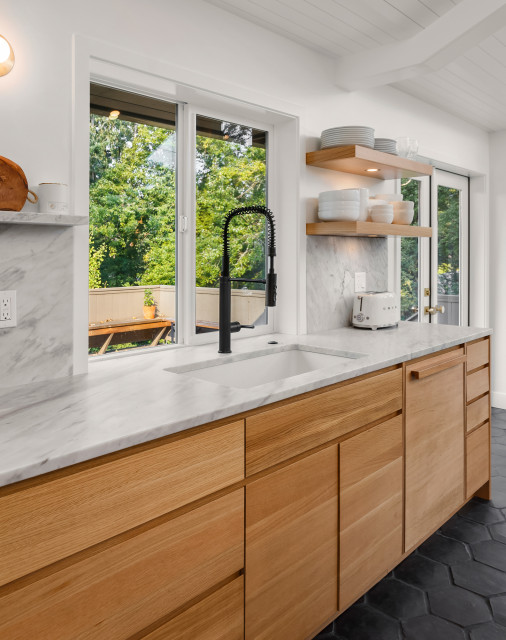
4. Integral
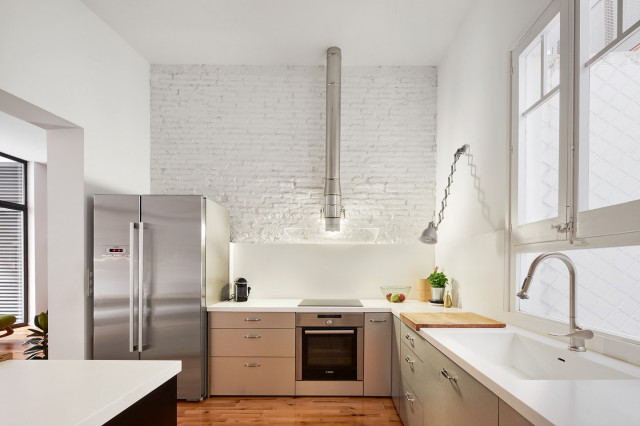
Integral sinks
are made from the same material as the countertop, often fabricated as a
seamless unit within the countertop. If you’d like to have your kitchen sink
blend in, and you are installing stone, metal, solid-surface, concrete or
quartz countertops, think about having an integral sink fabricated. Your
countertop fabricator will form a sink using the countertop material. The look
is very clean and seamless — perfect for a contemporary kitchen.
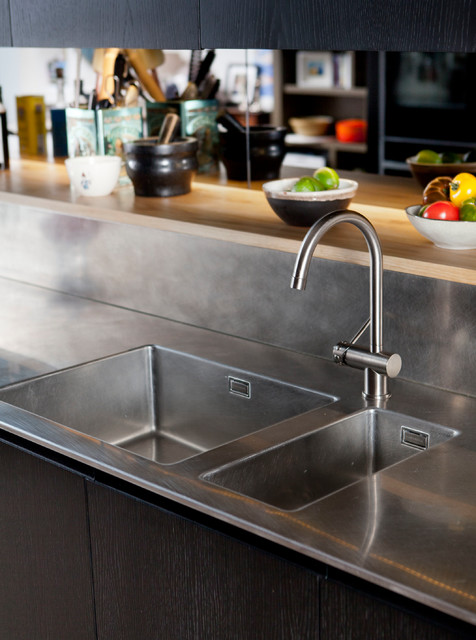
Here’s a
close-up look at a stainless steel integral sink. These sinks have no nooks or
crannies for food particles to collect in, making cleanup a breeze.
Integral sinks
are generally the most expensive type due to the cost of the raw material and
fabrication — these sinks are usually custom-designed and custom-manufactured —
in addition to the cost of installation. But for those with the budget for it,
it’s certainly an appealing option.
Cabinet-S-Top
1977 Medina Road
Medina, OH 44256
330.239.3630
www.cabinet-s-top.com



Comments
Post a Comment